
Getting Started with Containers: A Beginner’s Guide to Docker & DevOps
This is a beginner-friendly blog for anyone learning about containers and their importance in the world of DevOps.
What is a Container or Containerization?
A container, in simple terms, is something that holds or contains an object. It is a package containing the necessary dependencies, software tools and libraries needed to run an application in any environment — whether on a developer’s laptop, test server or cloud.

This eliminates the common problem of “It works on my machine but not yours?” by ensuring the application works and behaves the same way across different systems.
Why are Containers Important in DevOps?
Before we dive into why containers are so crucial in DevOps, let’s define DevOps.
What is DevOps?
DevOps is a combination of development (Dev) and operations (Ops); it is a set of practices for an organization to;
- Speed up software development and deployments
- Increase automation to minimize manual processes
- Ensure security and reliability
- Develop consistency across development, testing and production
Jumping into why containers are important in DevOps, it helps teams build, test and deploy applications faster and find any issues earlier in the development process.
- Portable: Containers can be deployed through testing, staging and production phase
- Consistent: Containers can be run across different environments with same behavior
- Efficient: Containers can use the available resources to run an application
- Speed: Containers are easy to use and can be deployed or patched faster than any traditional machine
- Changeable: Containers are easy to change, meaning scale it up by adding or down by removing dependencies quickly
Different Ways to Create a Container are as Follows
Method 1: Docker CLI
It’s the most convenient way of creating a container using the command line interface from any environment. It helps you create images, manage any image, download images from GitHub, deploy the image to GitHub or preferred repository, start, stop and monitor the images as well.
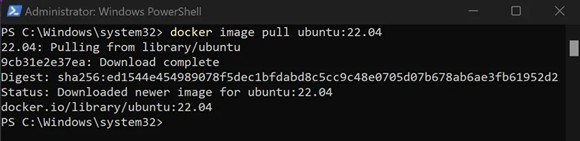
The example above shows Ubuntu 22.04 version image pulled from GitHub.
Method 2: Docker Desktop
Docker Desktop provides a graphical user interface that makes container management easier. You can download Docker Desktop from their official website: https://docs.docker.com/desktop/
Even with Docker Desktop installed, you can still use the command-line interface alongside the graphical features.
Method 3: Docker Engine
Docker Engine is the core runtime of Docker. It is responsible for running and managing containers, building images, networking and storage for containers. It is used for running on Linux servers or the cloud like AWS and Azure.
Method 4: Docker Compose
Docker Compose is a tool for creating and managing multi-container applications using a simple YAML file. It can be called docker-compose.yml and used within Azure pipelines to run multiple projects using different or the same containers.
Method 5: Kubernetes
For large-scale production builds, companies typically prefer container management with Kubernetes. It allows creating pods, deploying Kubernetes clusters and running multiple containers within the Kubernetes environment.
Method 6: Podman
Podman is an open-source software managed by Red Hat under the Apache 2.0 license.
It doesn’t need to run as a root user like Docker. It is compatible with Docker CLI, meaning it uses a similar command-line syntax. Additionally, Podman is a daemonless alternative — it doesn’t require a background daemon process like Docker does.
There are many ways to run a container. The above ones should help anyone who is trying to familiarize themselves with containers.
I will show some basic examples of how to create a container using Docker Desktop and Docker CLI in this blog post.
The first few steps:
Make sure you have .NET installed. If not, download and install it from the Microsoft website. I’m using .NET 9.0 for this example.
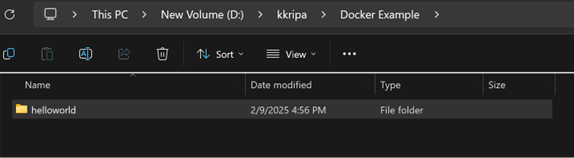
Create a new folder for your test project. For this example, I’ve created a test folder called helloworld for my HelloWorld project — you can name yours whatever you prefer.
Open PowerShell or your preferred terminal to start creating a test container.
Now that you have everything set up, let’s create a simple example to understand how containers work.
Create HelloWorld Project:
Change directory in your terminal to your test folder, for example, mine is helloworld. Run the following command to create a basic HelloWorld project:
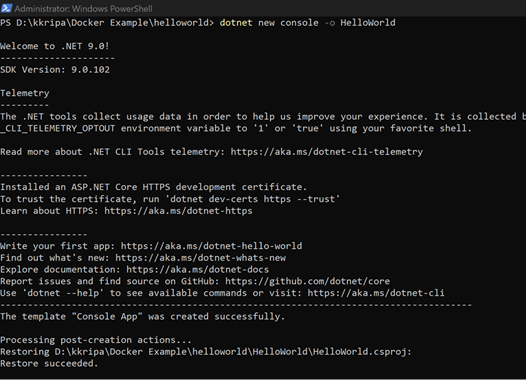
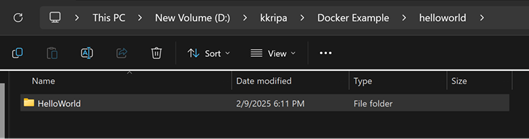
The above step created essential files to create a helloworld application.
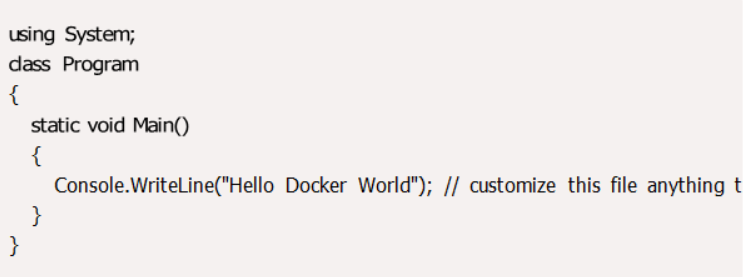
In your HelloWorld folder, you can replace the contents of program.cs as follows or you can keep what was created automatically. This is just to give you an idea to customize how your text looks.
I am changing my default program.cs that was automatically created, just to add some custom text.
Before:

After:
Build the application by running:

Let’s create a dockerfile that can run the same application with a similar environment created in a container.
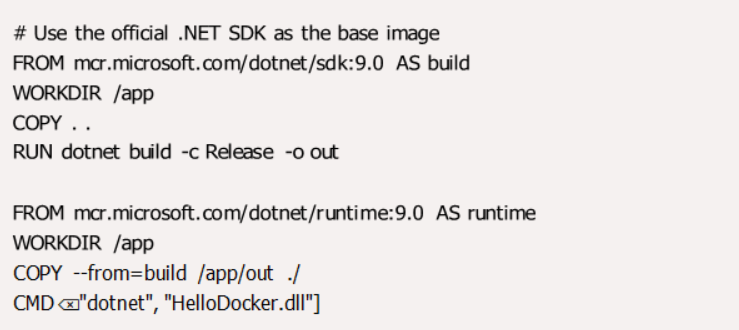
When saving this file in Notepad or a similar tool, make sure that you select no file type. In case it gets saved as .txt, please remove the extension and it should look as follows:

Let’s Learn How to Build & Run the Container Using Docker CLI and Docker Desktop
1. Docker CLI
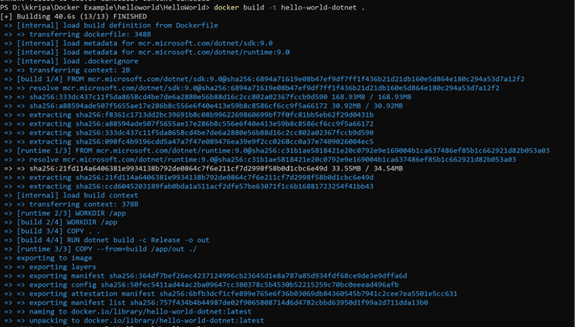
Open PowerShell assuming you are using a Windows machine. Change the directory in the terminal to the project folder where your project files and Dockerfile exist.
Run the following command:

You can name it as preferred, just replace hello-world-dotnet.
Run the next command:

You will be able to see the output logged from Program.cs.

2. Docker Desktop
Open Docker Desktop
- Go to the “Images” tab → Click “Build Image” → Select the HelloWorld folder
- After the build is completed, go to “Containers” → Click “Run”
- Check logs inside Docker Desktop to see the Hello World output
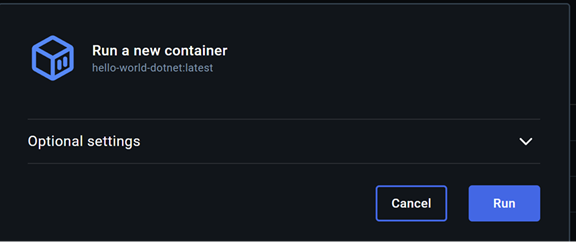
Once it completes the run it will show the output for the test project you just created.

I hope this blog helped you to understand the basic concepts of containers and their usage in the DevOps world.
